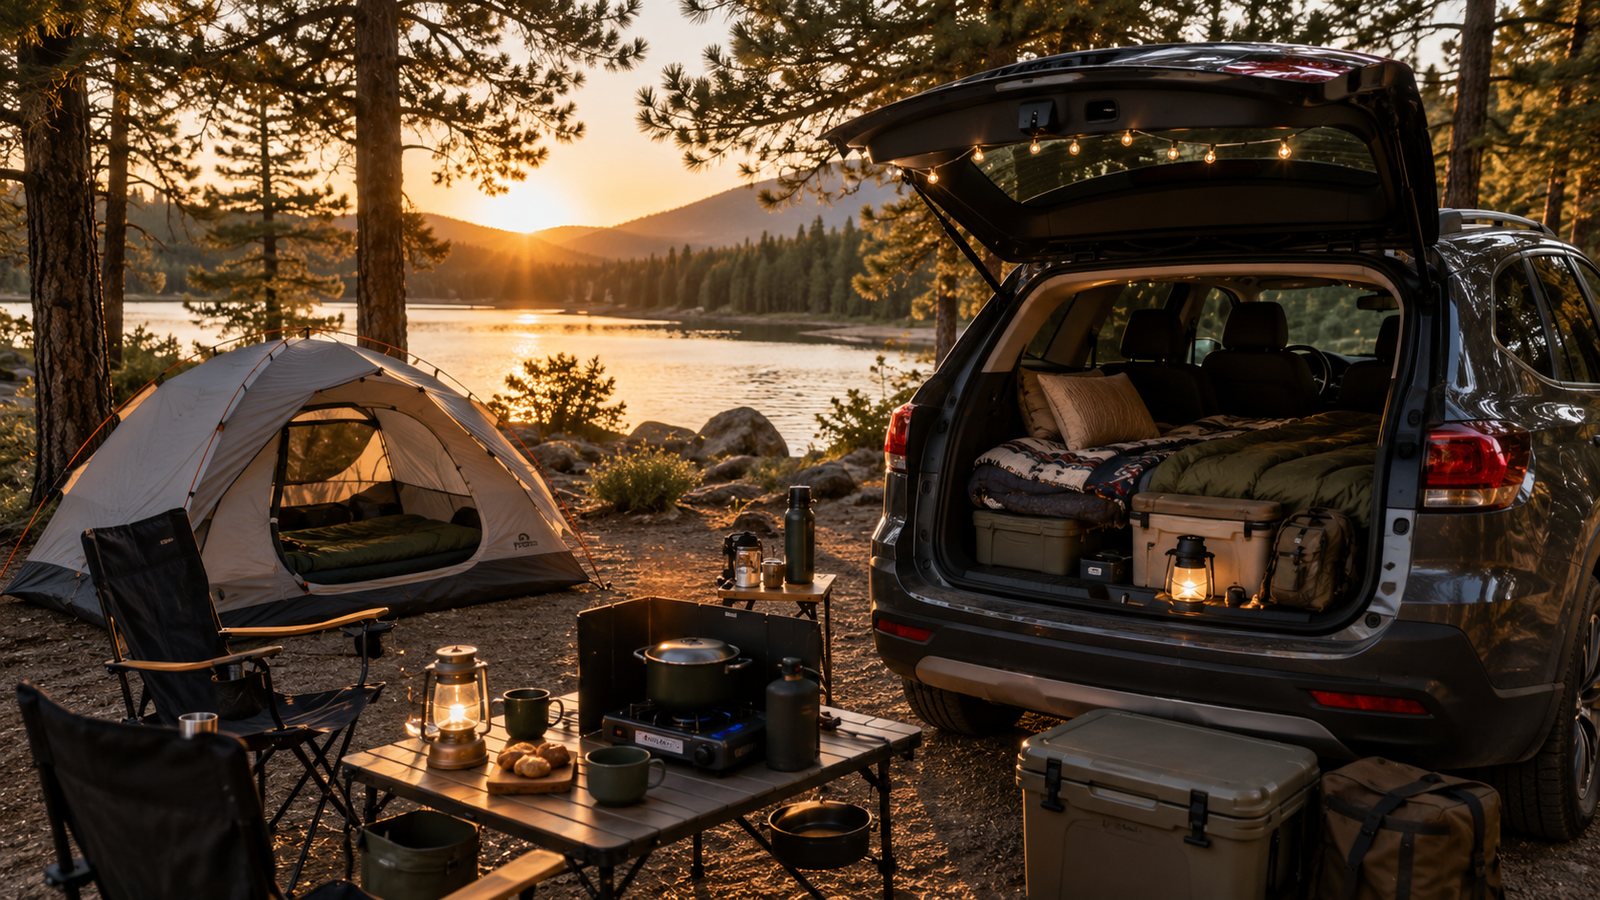
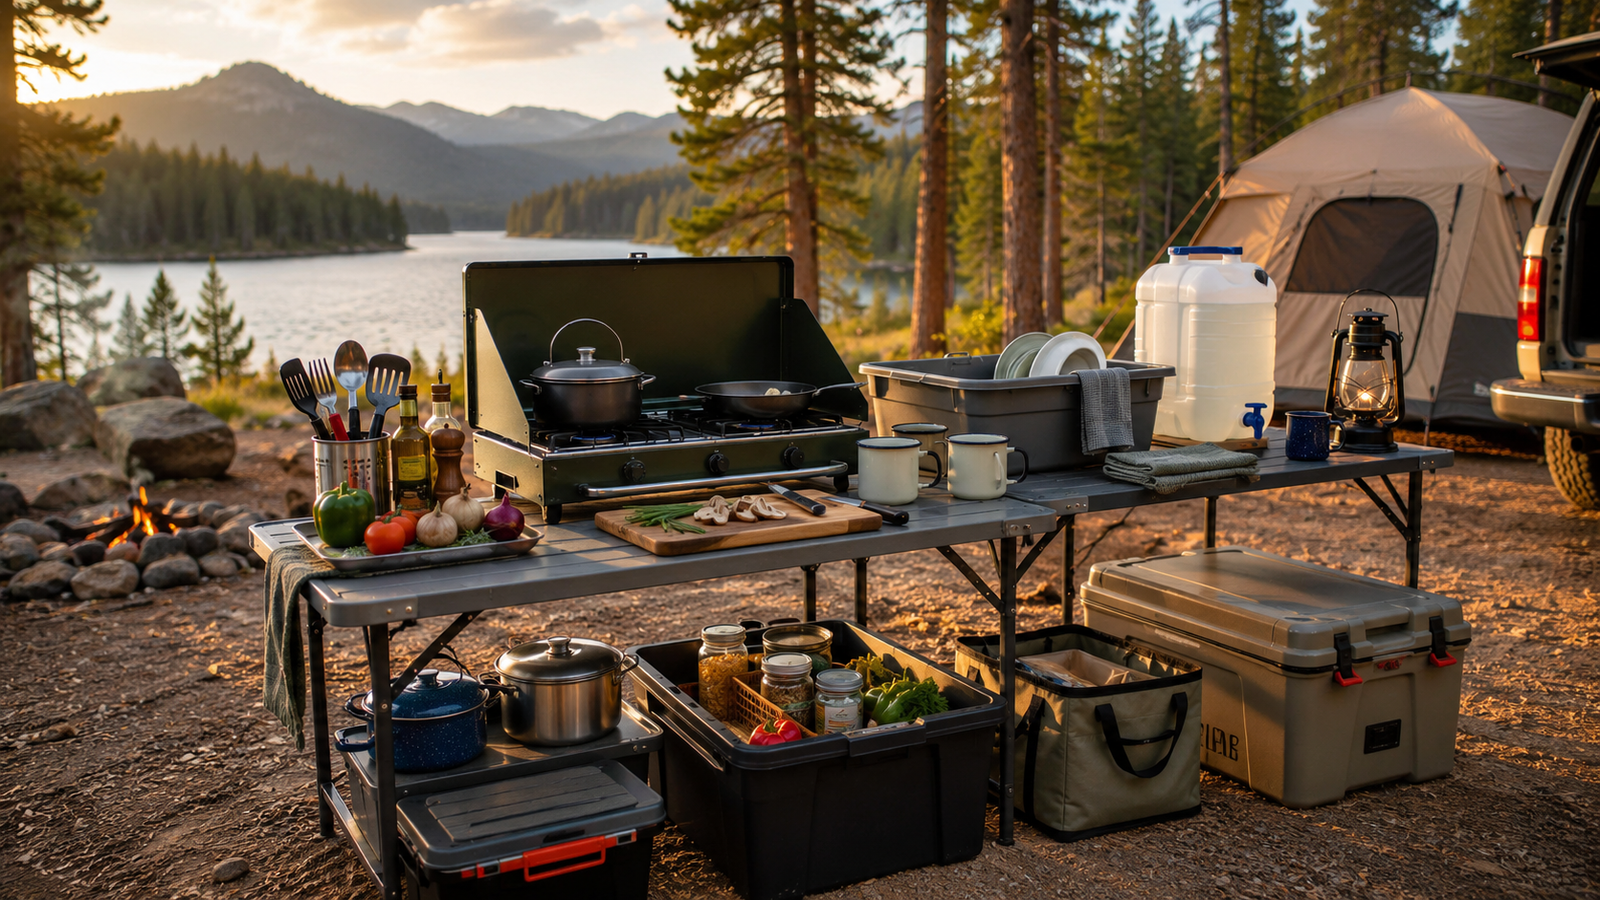
A practical camp kitchen does not need elaborate furniture, expensive cookware, or a complicated storage system. It needs a safe place to cook, enough room to prepare food, reliable water and refrigeration, and a simple method for cleaning and packing everything away.
For most car campers, the best setup includes:
- A stable camping stove
- One table or campground picnic table
- A cooler with a thermometer
- A sealed camp kitchen box
- Basic cookware and utensils
- A dedicated water station
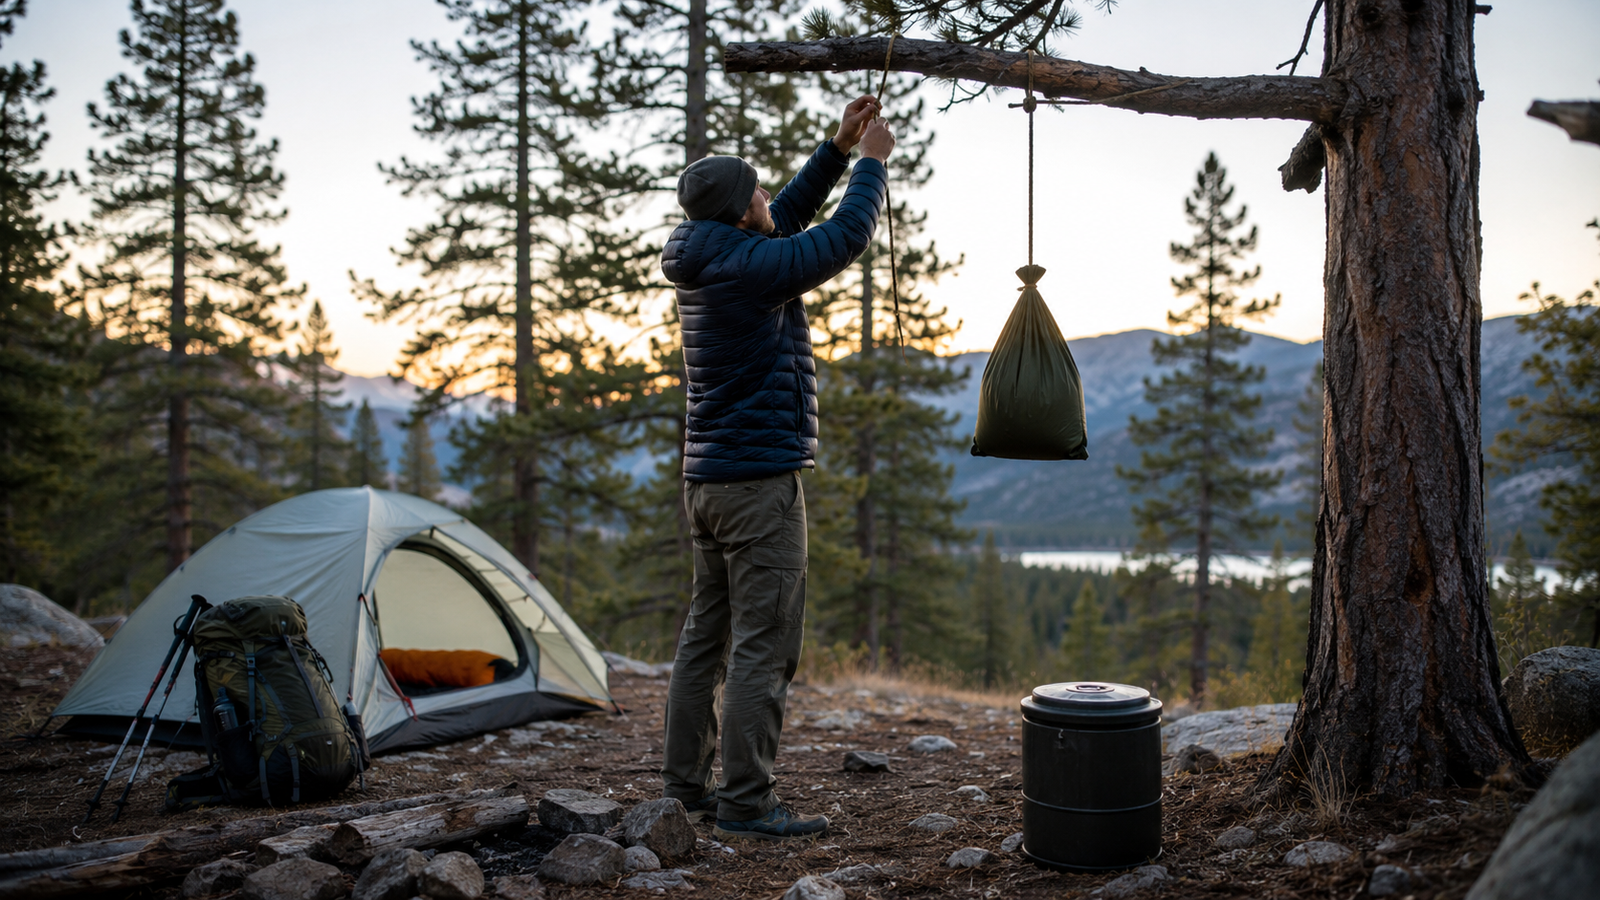
- Wildlife-safe food storage
- A container for trash and food scraps
The goal is to keep cooking equipment organized while separating raw food, clean utensils, waste, fuel, and sleeping gear.
Before building your kitchen, review our Camping Essentials Checklist for Beginners to make sure your shelter, sleep system, lighting, safety equipment, and cooking supplies work together.
Quick Camp Kitchen Checklist
| Category | Essentials |
|---|---|
| Cooking | Stove, fuel, lighter, windscreen, cookware |
| Food preparation | Knife, cutting board, mixing bowl, utensils |
| Eating | Plates, bowls, cups, forks, spoons |
| Water | Drinking-water containers, refillable bottles |
| Cold storage | Cooler, ice or frozen packs, thermometer |
| Dry storage | Camp kitchen box, sealed food containers |
| Cleaning | Wash tubs, sponge, scraper, towel, strainer |
| Waste | Trash bags, food-scrap bag, recycling bag |
| Safety | Fire extinguisher, first-aid kit, heat-resistant gloves |
| Wildlife protection | Food locker, approved container, or another locally required method |
You will not use every item on every trip. A one-night campground stay may require little more than a stove, pot, cooler, water container, and basic utensils. Longer family trips need more storage, cleaning supplies, and meal-planning space.
What Is a Camp Kitchen?
A camp kitchen is the designated part of your campsite where you:
- Store food
- Prepare ingredients
- Cook meals
- Serve food
- Wash cookware
- Manage drinking water
- Contain trash and food scraps
At a developed campground, the picnic table often becomes the main preparation area. At dispersed campsites, you may need to bring a folding table or use a portable kitchen unit.
The kitchen should remain separate from your tent and sleeping equipment. Fuel-burning appliances must be positioned far enough from tents, vegetation, and other flammable materials to prevent ignition from heat, flames, or sparks. Stoves and other flame-producing devices should never be used inside a tent.
How to Set Up a Camp Kitchen
The easiest way to organize a campsite kitchen is to divide it into four working zones.
Zone 1: Cooking Area
Place the stove on a stable, level, heat-resistant surface.
The cooking area should contain:
- Stove
- Fuel
- Lighter or matches
- Pots and pans
- Cooking utensils
- Heat-resistant gloves
- Fire extinguisher or another suitable emergency resource
- Ingredients required immediately
Do not place the stove on a plastic table unless its manufacturer confirms that the surface is suitable for cooking appliances.
Keep fuel cylinders upright and inspect connections before lighting the stove. Follow the appliance manufacturer’s instructions, use it only as a cooking appliance, and never leave it unattended while burning.
Zone 2: Food-Preparation Area
Use the opposite end of the picnic table or a separate folding table for preparation.
Keep this area free from fuel, dirty cookware, and trash.
Useful preparation equipment includes:
- Cutting board
- Sharp knife with protective cover
- Mixing bowl
- Measuring cup
- Can opener
- Tongs
- Spatula
- Paper towels or clean cloth
- Seasonings
- Ingredients for the current meal
Prepare as much food as possible at home. Chopping vegetables, measuring spices, mixing marinades, and portioning ingredients reduces campsite work and limits the amount of packaging you need to manage.
Zone 3: Water and Cleaning Station
Place the water and washing area away from active cooking so that people can wash their hands or dishes without reaching across a hot stove.
Your cleaning station may include:
- Water container with tap
- Biodegradable soap where permitted
- Sponge or scrubber
- Pot scraper
- Two or three wash tubs
- Fine-mesh strainer
- Drying towel
- Handwashing supplies
- Wastewater container where required
Developed campgrounds may require dishwater to be emptied into utility sinks, disposal grates, or designated gray-water facilities. Some locations prohibit draining it onto the ground entirely, so check the campground’s rules before setting up.
Zone 4: Food and Equipment Storage
Store dry goods and kitchen equipment in sealed, clearly labeled containers.
This area may contain:
- Camp kitchen box
- Cooler
- Drinking water
- Dry-food bin
- Wildlife-resistant container
- Trash and recycling bags
- Extra fuel
- Backup meals
Food should be returned to approved storage whenever it is not actively being prepared or eaten. Do not leave ingredients, crumbs, pet food, dirty cookware, or scented products unattended.
Build a Camp Kitchen Box
A camp kitchen box is a reusable container that holds the equipment you need for most trips.
A clear plastic tote with a secure lid works well for ordinary campground use because you can see the contents without unpacking everything. A more durable locking box may be better for frequent camping or rough vehicle travel.
Food-storage requirements are separate from ordinary organization. A standard plastic tote should not be treated as bear-resistant unless it has been approved for that purpose.
What to Put in Your Camp Kitchen Box
Cookware
- Medium cooking pot
- Small frying pan
- Pot lid
- Kettle or coffee pot
- Heat-resistant pot holder
Choose nesting cookware where possible. A pot that holds a bowl, mug, stove accessories, and utensils uses much less space than several separately packed items.
Cooking utensils
- Spatula
- Tongs
- Large spoon
- Serving spoon
- Can opener
- Bottle opener
- Whisk or fork
- Long-handled lighter
Food-preparation tools
- Cutting board
- Knife with sheath
- Vegetable peeler
- Measuring cup
- Mixing bowl
- Food-storage bags
- Reusable containers
Avoid carrying a loose sharp knife inside the box. Use a blade cover or dedicated protective case.
Eating equipment
- Plates
- Bowls
- Mugs
- Forks
- Spoons
- Reusable napkins
Assigning each person one distinctive mug, bowl, and utensil set can reduce confusion and unnecessary washing.
Cleaning equipment
- Sponge
- Pot scraper
- Small soap bottle
- Fine-mesh strainer
- Quick-drying towel
- Trash bags
- Reusable wash tubs
- Hand sanitizer
Small essentials
- Aluminum foil
- Food-storage clips
- Matches in a waterproof container
- Spare lighter
- Salt and pepper
- Cooking oil
- Small seasoning kit
- Paper and pencil for meal notes
Do not permanently store opened food, cooking oil, or anything likely to leak inside the box between trips.
Choosing the Right Camping Stove
For most car campers, a two-burner propane stove provides the easiest balance of cooking space, control, and stability.
A single-burner stove may be sufficient for:
- Solo campers
- Couples
- Coffee and simple meals
- One-night trips
- Limited vehicle space
A two-burner stove is more practical for:
- Families
- Groups
- Cooking a main dish and side together
- Heating water while preparing breakfast
- Multi-day trips
Camp Stove vs. Campfire Cooking
A campfire can be enjoyable, but it should not be your only cooking plan.
Campfires may be prohibited because of drought, wildfire danger, air quality, site restrictions, or seasonal rules. Some restriction levels continue to allow selected gas or liquid-fuel appliances while prohibiting wood and charcoal, but the exact rules depend on the managing agency and current conditions.
A camp stove is generally:
- Faster to start
- Easier to control
- More reliable in wet weather
- Cleaner for cookware
- Less dependent on local firewood
- Easier for morning coffee and quick meals
The National Park Service recommends practicing with a new stove before the trip so you can identify damaged parts or startup problems at home.
Important Stove Safety
Never use a stove:
- Inside a tent
- Inside a vehicle
- In a closed camper without approved ventilation
- In an enclosed tent vestibule
- Near dry grass or low branches
- On an unstable surface
- While unattended
Check current fire restrictions immediately before leaving and again when you reach the campground. Rules can change quickly during dry or windy conditions.
How to Pack a Cooler Safely
A cooler is one of the most important parts of a car-camping kitchen because it controls whether meat, dairy products, cooked meals, and other perishable foods remain safe.
USDA guidance states that cold food should remain at 40°F or below. Bacteria grow rapidly between 40°F and 140°F, often called the food-safety danger zone. Perishable food should not remain unrefrigerated for more than two hours—or more than one hour when the air temperature is above 90°F.
Use a Cooler Thermometer
Do not judge cooler temperature by touching the lid or checking whether some ice remains.
Place an appliance thermometer inside and verify that the temperature remains at or below 40°F.
Prepare the Cooler Before Packing
For better temperature control:
- Chill drinks and food before the trip.
- Freeze foods that will be eaten later.
- Add ice or frozen packs shortly before departure.
- Place raw meat in sealed, leakproof containers.
- Keep ready-to-eat food away from raw meat.
- Fill unused space with additional cold packs.
- Keep the cooler shaded at camp.
- Open it only when necessary.
The USDA recommends keeping a cooler insulated or shaded and discarding perishables when ice has melted or frozen packs are no longer maintaining a safe temperature.
Consider Two Coolers
For a family or multi-day trip, using two coolers can make organization easier:
- Food cooler: opened mainly during meal preparation
- Drink cooler: opened more frequently throughout the day
This reduces repeated warm-air exposure to meat, dairy products, and prepared meals. It is a practical organizational strategy rather than a substitute for monitoring the actual temperature.
Organize Food by Meal
Pack the final day’s food at the bottom and the first meal near the top.
Example:
- Top: first-night dinner
- Middle: second-day breakfast and lunch
- Bottom: later meals and frozen ingredients
This prevents you from digging through the entire cooler at every meal.
Food Storage and Wildlife Safety
Food storage is not only about keeping ingredients fresh. It also protects wildlife and prevents animals from becoming conditioned to human food.
Store all attractants, including:
- Food
- Trash
- Pet food
- Coolers
- Dirty cookware
- Cooking oil
- Toiletries
- Toothpaste
- Scented wipes
- Beverage containers
The correct method depends on the campground.
You may be required to use:
- A provided food-storage locker
- An approved bear-resistant canister
- A certified bear-resistant cooler
- A secured hard-sided vehicle
- Another park-specific storage system
Use a locker whenever one is provided and follow the local instructions. Ordinary coolers and storage tubs are not automatically wildlife-resistant.
Do not store food or scented products inside your sleeping tent. Animals that gain access to human food can become persistent or aggressive, creating risks for future visitors and the animal itself.
Water Setup for a Camp Kitchen
Bring enough water for:
- Drinking
- Cooking
- Handwashing
- Dishwashing
- Emergency use
Do not assume that every campground has potable water. Even campgrounds that normally provide water can experience seasonal shutdowns, maintenance problems, or temporary treatment failures.
Use More Than One Container
Carrying water in two containers provides backup if one leaks or becomes contaminated.
A useful setup is:
- Large container with tap for kitchen use
- Smaller container or bottles for drinking
- Additional sealed emergency supply
Place the main container at the edge of the table with the tap extending beyond the surface. This allows users to fill bottles or wash hands without soaking equipment.
Create a Handwashing Station
Keep these items together:
- Water
- Soap
- Catch basin where required
- Clean towel or paper towels
- Hand sanitizer
Hand sanitizer is useful, but visibly dirty hands should still be washed with soap and safe water before preparing food.
How to Wash Dishes While Camping
A simple three-stage method works well:
- Scrape: Remove food scraps into the trash.
- Wash: Use warm water and minimal soap.
- Rinse: Use clean water.
- Sanitize when necessary: Follow appropriate food-safety guidance.
- Dry: Air-dry or use a clean towel.
Scraping plates thoroughly before washing reduces water use and prevents food from entering wastewater.
Disposing of Dishwater
At a developed campground, follow posted instructions. Use a utility sink, gray-water drain, disposal grate, or designated facility when one is provided.
Where scattering wastewater is allowed, Leave No Trace recommends carrying water at least 200 feet from water sources, trails, and campsites. Strain out all food particles, pack those particles with the trash, and scatter the strained water broadly. Even biodegradable soap should be kept out of lakes and streams.
Do not assume scattering is allowed everywhere. Some campgrounds prohibit releasing gray water onto the ground. Local regulations take priority.
Best Camping Food for a Practical Kitchen
The best camping food is easy to store, quick to cook, filling, and suitable for the equipment you are carrying.
Good campground meals should ideally:
- Use one or two pieces of cookware
- Require limited preparation
- Produce little food waste
- Use overlapping ingredients
- Remain safe in your available storage
- Have a no-cook backup option
Best Food for Camping Without Refrigeration
Useful shelf-stable options include:
- Oatmeal
- Pasta
- Rice
- Tortillas
- Canned beans
- Tuna or chicken packets
- Nut butter
- Crackers
- Trail mix
- Dried fruit
- Shelf-stable milk
- Soup
- Instant noodles
- Granola bars
- Whole fruit
- Hard vegetables
Always check product labels. Some packaged foods require refrigeration after opening.
Food That Works Well in a Cooler
- Eggs
- Cheese
- Yogurt
- Pre-cooked meat
- Raw meat in sealed containers
- Hummus
- Chopped vegetables
- Cooked rice
- Prepared pasta dishes
- Fresh milk
- Dips and sauces
Plan to eat the most temperature-sensitive ingredients early in the trip unless you have a reliable way to maintain refrigeration.
Easy Camping Food Ideas
Breakfast Ideas
Oatmeal Bar
Cook a large pot of oatmeal and offer:
- Dried fruit
- Nut butter
- Seeds
- Cinnamon
- Honey
- Granola
This is one of the easiest breakfasts for groups because everyone can customize one basic meal.
Breakfast Burritos
Prepare the filling at home using eggs, potatoes, cheese, and vegetables. Store it safely in the cooler, reheat it in a skillet, and serve it in tortillas.
Yogurt and Granola
This requires no cooking and works well on mornings when you need to leave camp early.
Lunch Ideas
Wraps
Use tortillas with:
- Tuna
- Chicken
- Cheese
- Hummus
- Vegetables
- Nut butter
- Shelf-stable spreads
Wraps pack more easily than soft bread and are less likely to be crushed.
Camp Snack Plate
Combine crackers, cheese, fruit, vegetables, nuts, and a protein source. This is useful when weather or travel plans make cooking inconvenient.
Soup and Sandwiches
Heat canned or prepared soup on the stove and serve it with simple sandwiches.
Dinner Ideas
One-Pot Pasta
Cook pasta, drain carefully according to local wastewater rules, and combine it with sauce, vegetables, and a prepared protein.
Rice and Bean Bowls
Heat rice and beans with seasoning, then add cheese, salsa, vegetables, or avocado.
Camp Tacos
Cook one filling and serve it with tortillas, shredded cheese, vegetables, and salsa. Store leftovers promptly.
Foil-Pack Vegetables
Where fire and grill rules permit, combine sliced vegetables, seasoning, and a small amount of oil in foil. Cook the packet on an approved grill rather than directly on unrestricted ground.
Five Simple Camping Recipes
1. One-Pot Tomato Pasta
Ingredients:
- Pasta
- Tomato sauce
- Water
- Dried herbs
- Chopped vegetables
- Grated cheese
Cook the pasta, remove excess water where necessary, add the sauce and vegetables, and heat until everything is fully cooked.
2. Black Bean Camp Tacos
Ingredients:
- Canned black beans
- Tortillas
- Taco seasoning
- Cheese
- Salsa
- Chopped vegetables
Heat the beans with seasoning and assemble the tacos immediately before eating.
3. Skillet Breakfast Hash
Ingredients:
- Pre-cooked potatoes
- Eggs
- Onion
- Bell pepper
- Cheese
- Seasoning
Cook the vegetables and potatoes first, then add eggs and cheese.
4. Chickpea Wraps
Ingredients:
- Canned chickpeas
- Tortillas
- Hummus
- Chopped cucumber
- Tomato
- Seasoning
Mash the chickpeas lightly, combine the ingredients, and serve without cooking.
5. Cinnamon Apple Oatmeal
Ingredients:
- Oats
- Water or milk
- Chopped apple
- Cinnamon
- Nut butter
- Honey
Cook the oats and apple together, then add the toppings before serving.
These are among the best camping recipes for beginners because they use ordinary ingredients and minimal cookware.
Two-Night Camping Meal Plan
Day 1
Lunch: Pre-made wraps and fruit
Dinner: Black bean tacos
Dessert: Cookies or shelf-stable treats
Day 2
Breakfast: Oatmeal with fruit and nut butter
Lunch: Crackers, cheese, vegetables, and hummus
Dinner: One-pot pasta
Dessert: Hot chocolate
Day 3
Breakfast: Breakfast burritos
Lunch: Shelf-stable snacks for the drive home
Bring one emergency meal that does not require cooking, such as nut-butter wraps, tuna packets with crackers, or shelf-stable meal bars.
How to Pack and Organize Camping Food
Plan Every Meal
Write down:
- Number of campers
- Number of breakfasts
- Number of lunches
- Number of dinners
- Snacks
- Drinks
- Emergency food
Then list each ingredient once. This reduces duplicate purchases and forgotten items.
Use Ingredients More Than Once
A practical menu might use tortillas for:
- Breakfast burritos
- Lunch wraps
- Dinner tacos
Cheese can be used for:
- Eggs
- Sandwiches
- Pasta
- Tacos
Shared ingredients reduce storage needs and food waste.
Remove Excess Packaging
At home:
- Portion ingredients
- Transfer them to sealed containers
- Label each container
- Write the meal name on the label
- Keep cooking instructions with the ingredients
Do not remove labels when you may need allergy, preparation, or expiration information.
Keep a Kitchen Inventory
After every trip, note:
- Items you used
- Items you forgot
- Equipment that broke
- Food that remained
- Fuel consumed
- Water used
Update your camp kitchen box before the next trip rather than rebuilding the list from memory.
Common Camp Kitchen Mistakes
Cooking Too Close to the Tent
Heat, flame, sparks, carbon monoxide, and fuel make tents and enclosed shelters unsafe cooking locations.
Depending Entirely on a Campfire
Fire restrictions, rain, wind, wet fuel, or missing firewood can eliminate your only cooking method.
Packing Complicated Meals
Recipes with several pans and many ingredients create more work, cleanup, and food waste.
Leaving Food Unattended
Even a short absence can give birds, rodents, raccoons, bears, or other wildlife access to food and trash.
Treating the Cooler Like a Refrigerator
A cooler must be monitored. Ice alone does not prove that all food has remained at a safe temperature.
Washing Dishes at a Drinking-Water Tap
Food particles, soap, and dirty water can contaminate shared areas. Use the campground’s designated facility or its approved disposal method.
Forgetting a No-Cook Meal
A stove malfunction, fuel problem, storm, or fire restriction should not leave you without dinner.
Burning Food Packaging
Trash and food waste should be packed out or placed in approved receptacles. Leave No Trace advises packing out leftover food and litter rather than burning waste.
Frequently Asked Questions
What do I need for a basic camp kitchen?
A basic camp kitchen needs a stove, fuel, lighter, cookware, utensils, cutting board, knife, cooler, water, food-storage container, washing supplies, and trash bags. Add wildlife-resistant storage when required.
What is the best camp kitchen setup for beginners?
Use one picnic table divided into a food-preparation side and cooking side. Position a water station nearby, keep the cooler shaded, and store unused food in the required wildlife-safe location.
What should I put in a camp kitchen box?
Include cookware, cooking utensils, plates, bowls, cups, cutlery, cutting board, knife, can opener, sponge, scraper, soap, strainer, towels, trash bags, lighter, and a small seasoning kit.
What is the best food for camping?
The best food for camping is easy to store, quick to cook, and useful in multiple meals. Oatmeal, tortillas, rice, pasta, canned beans, eggs, cheese, chopped vegetables, trail mix, fruit, and nut butter are practical options.
How do I keep camping food cold?
Pre-chill the cooler, pack cold or frozen ingredients, add sufficient ice or frozen packs, keep the cooler shaded, limit opening, and monitor it with a thermometer. Perishable food should remain at or below 40°F.
Can I cook inside my tent when it rains?
No. Never use a stove, grill, campfire, or other flame-producing appliance inside a tent. Prepare a weather backup, such as a properly ventilated campground shelter where cooking is permitted, or use a no-cook meal.
Can I leave food in my car overnight?
It depends on local wildlife regulations. Some campgrounds allow food inside a locked hard-sided vehicle, while others require lockers or approved containers. Follow the exact rules posted for the campsite.
How should I dispose of camping dishwater?
Use the campground’s designated sink, drain, grate, or gray-water facility where available. Where scattering is legally permitted, strain out food scraps, pack them out, and dispose of the water according to local Leave No Trace guidance.
Should I use a separate cooler for drinks?
It can be helpful on group trips because the drink cooler is opened frequently. Keeping perishable food in a separate cooler may make temperature management easier, but both coolers still need to remain at safe temperatures.
What camping meal should I prepare for an emergency?
Bring at least one meal that requires no stove, such as nut-butter wraps, tuna packets with crackers, shelf-stable meal bars, or tortillas with beans and packaged ingredients.
Final Thoughts
A good camp kitchen is not defined by how much gear you bring. It is defined by whether you can cook safely, find what you need, protect your food, control waste, and clean up without damaging the campsite.
Start with:
- A dependable stove
- One or two pieces of cookware
- A properly packed cooler
- A reusable camp kitchen box
- Safe water
- Simple meals
- Wildlife-resistant storage
- A clear cleaning plan
For your first trip, choose two or three easy meals rather than trying to recreate your home kitchen outdoors.
Once you learn how much water, fuel, cookware, and storage your group actually uses, you can improve the setup gradually. The most practical camp kitchen is the one that makes mealtimes easier without taking over the entire campsite.
Editorial Research Note
Xplore Terrainz reviewed guidance from the National Park Service, U.S. Forest Service, USDA Food Safety and Inspection Service, and Leave No Trace. Food-storage rules, fire restrictions, stove requirements, and gray-water regulations vary by destination and may change during the season. Check the managing agency’s current rules before every camping trip.