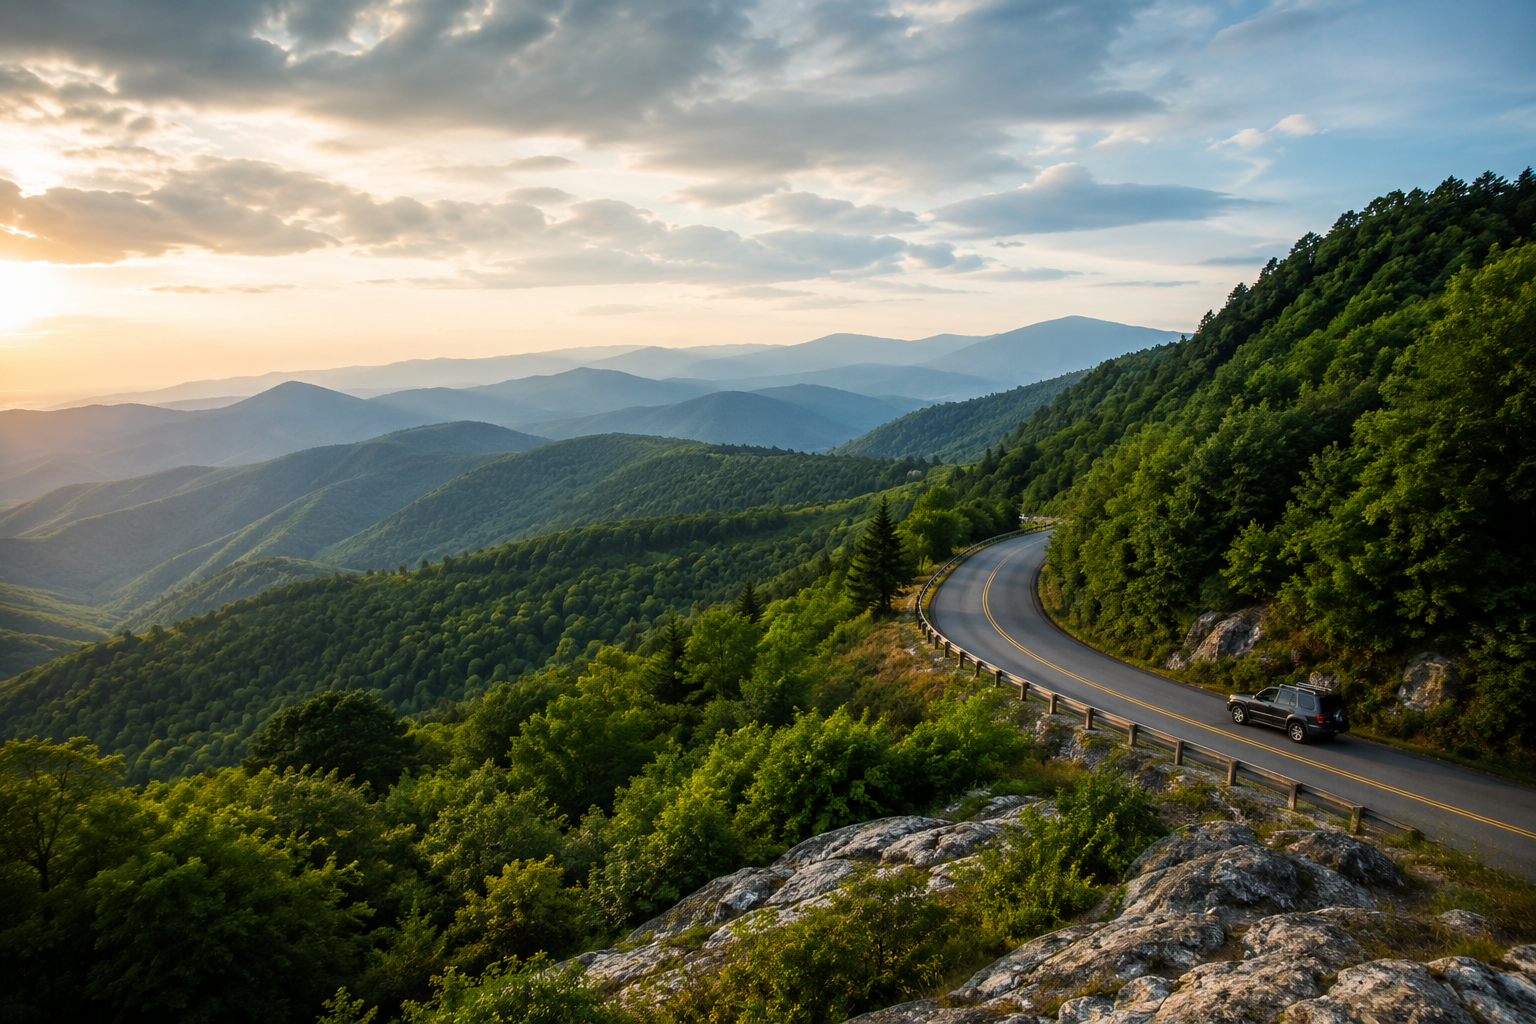
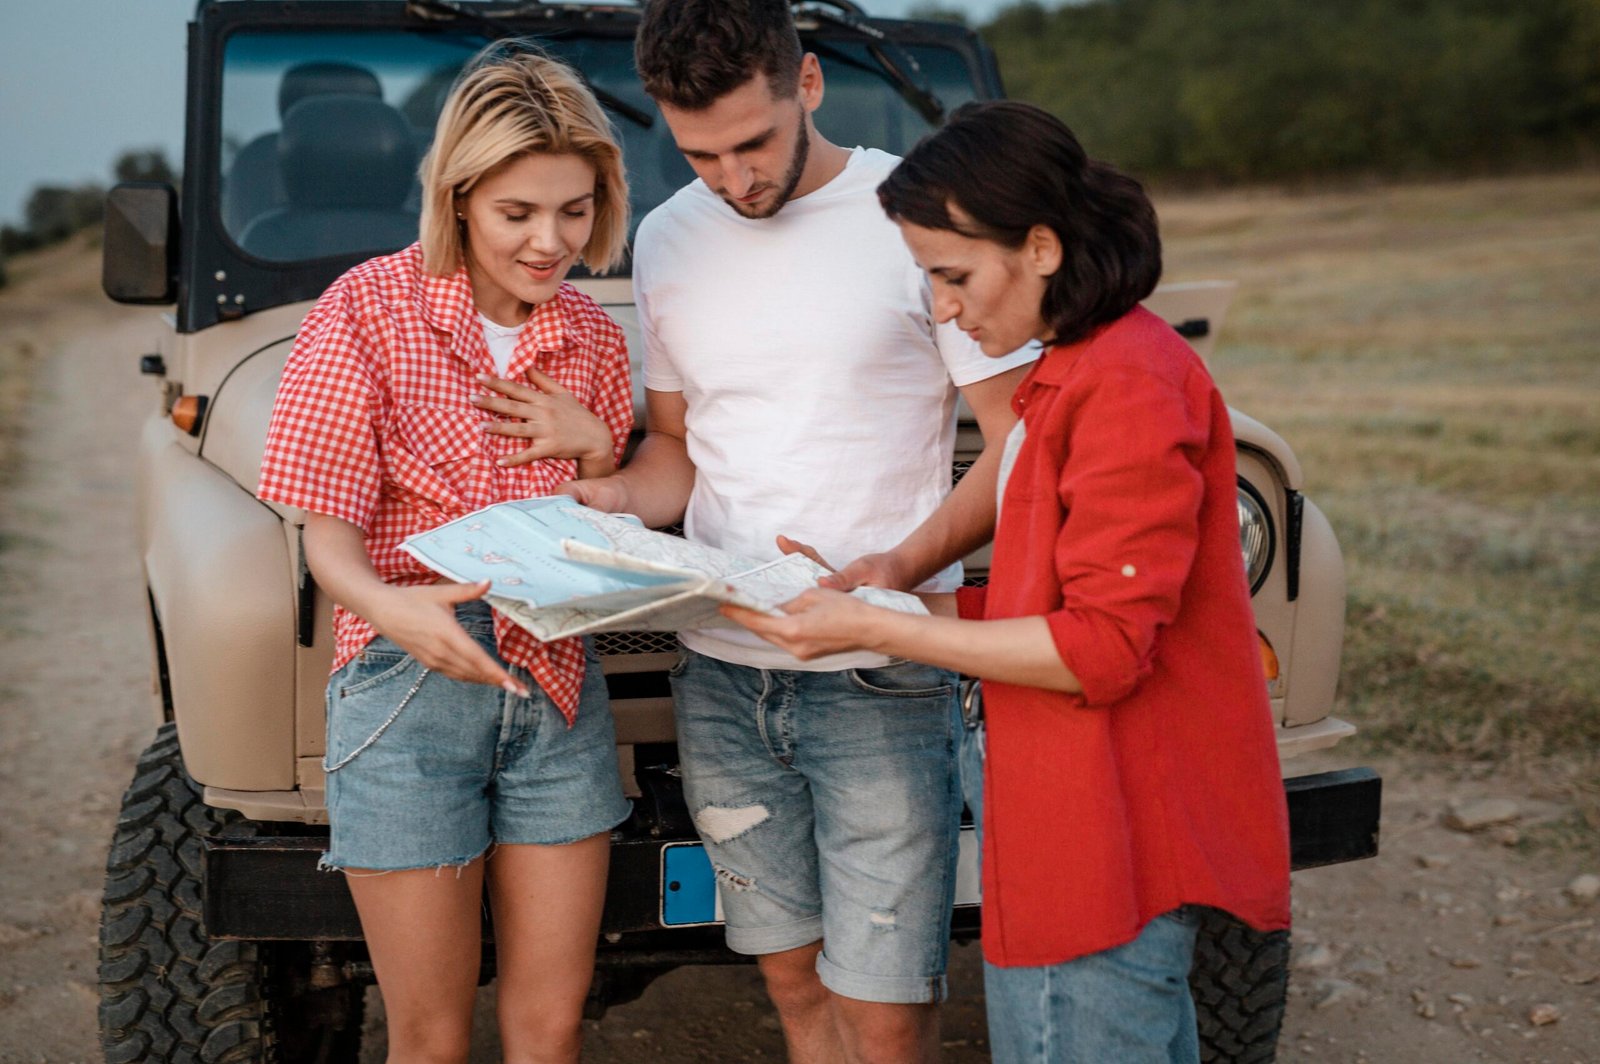
Overlanding may look like a hobby reserved for lifted trucks, rooftop tents, and travelers with expensive equipment strapped to every available surface.
It does not have to be.
Your first overlanding trip can be a simple one- or two-night journey along maintained public-land roads, with a basic tent, enough food and water, offline maps, and a vehicle you already know how to drive.
The goal is not to push your vehicle to its limits. It is to travel through outdoor landscapes while remaining prepared to camp, cook, navigate, and handle minor problems without depending on hotels or developed campground facilities.
For beginners, the safest approach is simple:
- Pick a legal route suited to your current vehicle.
- Keep the trip close to home.
- Inspect your vehicle before leaving.
- carry enough water, food, shelter, and emergency supplies.
- Download official maps for offline use.
- Reach camp before dark.
- Turn around when conditions exceed your experience.
Here is how to plan a first overlanding trip that feels adventurous without becoming unnecessarily complicated.
What Is Overlanding?
Overlanding is vehicle-based adventure travel in which the journey, landscape, and self-sufficient camping experience are central to the trip.
It can involve:
- Paved scenic roads
- Gravel roads
- Forest roads
- Designated public-land routes
- Remote campsites
- Multi-day travel between outdoor destinations
Overlanding may include off-road driving, but difficult terrain is not required.
A weekend spent traveling between two legal dispersed campsites can be an overlanding trip even when every road is suitable for an ordinary crossover.
Overlanding vs. Car Camping, Road Trips, and Off-Roading
| Road trip | Visit destinations efficiently | Primarily paved roads | Hotels or campgrounds |
| Car camping | Camp close to a parked vehicle | Paved or maintained roads | Developed campground |
| Off-roading | Drive challenging terrain | Rough or technical routes | Optional |
| Overlanding | Travel through landscapes while camping self-sufficiently | Paved, gravel, dirt, or designated motor routes | Tent or vehicle-based camp |
These activities often overlap.
The important distinction is that overlanding emphasizes the entire journey rather than a single campsite or driving obstacle.
Is Overlanding Suitable for Beginners?
Yes, when the route is chosen according to the driver’s experience and the vehicle’s actual capabilities.
Problems usually begin when a first-time traveler combines too many unfamiliar challenges, such as:
- A newly purchased vehicle
- Difficult terrain
- An untested rooftop tent
- Remote navigation
- Extreme temperatures
- Night driving
- Unfamiliar recovery equipment
A sensible first trip should test your organization and camping setup, not your ability to recover a damaged vehicle miles from help.
Choose moderate weather, maintained roads, easy access to fuel, and a campsite you can reach well before sunset.
Step 1: Choose a Realistic Beginner Route
The best first route is rarely the most remote one.
Look for a journey that includes:
- One or two nights of camping
- Roads are clearly open to your type of vehicle.
- Legal camping opportunities
- Reliable entry and exit points
- Nearby fuel
- Multiple places to turn around
- Limited exposure to deep mud, sand, snow, or water
- A backup campsite
- Enough time to finish driving during daylight
A destination within two or three hours of home is ideal for your first trip.
That gives you enough distance to test the experience without making a forgotten item or an uncomfortable night feel like a major expedition.
Plan more than one exit.
Before leaving, identify:
- Your main route
- An easier alternative
- The nearest paved road
- The nearest town
- The last reliable fuel station
- A backup campsite
- Your turnaround time
Set a firm time when you will stop progressing and begin looking for camp or returning to easier roads.
Turning around is responsible trip management, not failure.
Step 2: Confirm That Driving and Camping Are Legal
A road appearing on an app does not automatically mean the public can legally drive it.
Similarly, an empty-looking area beside a road is not automatically an approved campsite.
Rules vary between BLM land, national forests, national parks, state land, tribal land, and private property.
BLM land
Many Bureau of Land Management areas allow dispersed camping, but restrictions, permits, stay limits, and designated-site requirements vary by field office.
BLM’s general guidance states that dispersed camping is typically limited to 14 days within a 28-day period, but local rules may differ. Always check the specific field office rather than assuming that a rule from another state or district applies to your destination.
Heavily visited areas may restrict camping to numbered or designated sites even when the surrounding land is publicly managed.
National forests
When traveling in a national forest, check its current Motor Vehicle Use Map, or MVUM.
An MVUM identifies the National Forest System roads, trails, and areas officially open to motor vehicles. It may also show the permitted vehicle class, seasonal restrictions, and how far a vehicle may travel from a designated route. Routes not shown on the MVUM are not open to public motor-vehicle travel.
Use the MVUM to confirm legal access, but combine it with a visitor or topographic map, as an MVUM is primarily a legal route document rather than a detailed navigation map.
National parks
National parks usually have stricter vehicle and camping regulations.
Death Valley National Park, for example, prohibits driving on any road other than officially designated paved or unpaved roads. Existing tire tracks do not make a route legal.
Primitive roadside camping may also require a backcountry permit. Big Bend National Park requires permits for its primitive roadside campsites, with some available online and others issued in person, depending on the road and site.
Private and tribal land
Never cross:
- Locked gates
- No-trespassing signs
- Tribal boundaries without authorization
- Seasonal closures
- Private roads without permission
Check land ownership before leaving and avoid relying on user-generated maps as your only source.
Step 3: Start With a Vehicle You Already Know
You do not need a purpose-built overlanding truck to begin.
A reliable passenger car, crossover, wagon, SUV, or pickup may be suitable when paired with the right route.
Choose the route based on the vehicle, not the vehicle based on the image you want to create.
Consider:
- Ground clearance
- Tire condition
- Fuel range
- Drivetrain
- Payload capacity
- Cargo space
- Spare-tire availability
- Manufacturer-approved recovery points
- Your experience driving on loose or uneven surfaces
All-wheel drive can improve traction, but it does not make a vehicle suitable for every rocky trail, deep mud hole, water crossing, or steep ledge.
Step 4: Complete a Pre-Trip Vehicle Inspection
A small problem at home can become an expensive problem on a remote road.
Before departure, check:
- Tire pressure
- Tire tread and sidewalls
- Spare tire
- Jack and wheel tools
- Engine oil
- Coolant
- Battery
- Brakes
- Lights
- Windshield wipers
- Washer fluid
- Visible leaks
NHTSA recommends inspecting tires before long trips for cuts, punctures, bulges, cracks, and inadequate or uneven tread. It also advises confirming that the spare tire and jack equipment are present and usable.
Use the tire pressure listed on the driver’s door label or in the vehicle owner’s manual, not the maximum pressure printed on the tire.
For remote travel, consider having the vehicle inspected by a qualified mechanic, especially when its maintenance history is uncertain.
Step 5: Understand Payload and Roof-Load Limits
Overlanding gear becomes heavy quickly.
Passengers, water, food, fuel, storage boxes, tents, batteries, recovery tools, coolers, and vehicle modifications all count toward the load your vehicle carries.
Before adding equipment, check:
- Payload capacity
- Gross vehicle weight rating
- Front and rear axle ratings
- Tire load ratings
- Static and dynamic roof-load limits
- Towing capacity, when relevant
Roof-mounted equipment deserves special attention.
A rooftop tent may be within the roof’s stationary load capacity when the vehicle is parked, but it exceeds the roof’s dynamic rating while driving. The rack, crossbars, tent, and anything stored beside it must all be included in the calculation.
Extra weight mounted high can also affect body roll, braking, handling, and fuel consumption.
For your first few trips, use lightweight removable storage rather than committing to a permanent build.
Step 6: Calculate Fuel Range Conservatively
Fuel consumption may increase on dirt roads because of:
- Lower gears
- Slower speeds
- Added weight
- Hills
- Soft surfaces
- Headwinds
- Extended idling
- Tire-pressure changes
Calculate your normal range, then leave a generous safety margin.
Mark:
- The final dependable fuel station
- Its operating hours
- One alternative station
- The distance back to the pavement
- The total unpaved mileage
Do not build a plan that requires arriving at the next station with an almost empty tank.
Carry additional fuel only when it is genuinely needed and can be transported legally in an approved, securely mounted container. Never store a leaking fuel container near cooking equipment or sleeping areas.
Step 7: Keep Your First Camp Setup Simple
A beginner overlanding setup should be quick to organize and easy to pack.
You can sleep in:
- A ground tent
- Your vehicle
- A pickup-bed setup
- A small trailer
- A rooftop tent
No setup is automatically best.
Ground tent
A ground tent is usually the most affordable and flexible option.
It can remain at camp while you drive elsewhere, and it does not add weight to the vehicle’s roof. However, it requires suitable ground and may take longer to set up in windy or rainy conditions.
Sleeping inside the vehicle
A vehicle sleep platform offers fast setup and good weather protection.
The disadvantages are limited ventilation, reduced storage space, and the need to move equipment every night.
Never run the engine for heat while sleeping, and do not use fuel-burning stoves or heaters inside an enclosed vehicle.
Rooftop tent
A rooftop tent offers an elevated sleeping platform and an integrated mattress, but it is expensive, heavy, and vehicle-dependent.
It can also increase wind resistance and must usually be packed away before driving.
Use a ground tent or a simple vehicle setup first. After several trips, you will know whether a rooftop tent solves a real problem or merely adds cost.
Step 8: Pack a Complete Sleep and Shelter System
At minimum, bring:
- Tent or vehicle sleep platform
- Weather-appropriate sleeping bag
- Insulated sleeping pad or mattress
- Pillow
- Rain protection
- Dry sleeping clothes
- Headlamp
- Tent repair supplies
Test every item before leaving.
Set up the tent, inflate the mattress, confirm the stove works, and check that batteries and charging equipment are functional.
Your first night on public land is not the right time to discover that the tent poles are missing.
Step 9: Carry Enough Water and Food
Water must cover:
- Drinking
- Cooking
- Cleaning
- Hygiene
- An emergency reserve
Needs vary based on heat, altitude, exertion, diet, and trip length.
Carry water in at least two separate containers so that a single leak does not deplete your entire supply.
For a short beginner trip, bringing treated water from home is generally easier than depending on an uncertain natural source.
Keep meals uncomplicated
Good first-trip meals:
- It requires a few ingredients.
- Use minimal cookware
- Store safely
- Produce little waste
- Can be prepared quickly
- Do not depend on a campfire.
Examples include oatmeal, wraps, pasta, soup, pre-cooked rice meals, fruit, nut butter, trail mix, and shelf-stable snacks.
Carry at least one complete meal that can be eaten without cooking.
Step 10: Use Offline Navigation
Mobile service often disappears long before a road feels remote.
Before leaving, download:
- The official land-management map
- The current MVUM, where applicable
- Offline road maps
- A topographic map
- Campsite coordinates
- Fuel locations
- Emergency exit routes
- Permit documents
Do not use a recreational navigation app as your sole authority for legal access.
Carry:
- Phone charging cable
- Power bank
- Paper backup map
- Compass
- Satellite communicator for genuinely remote travel
Learn how to activate and use emergency communication equipment before departure.
Share your trip plan.
Give a trusted person:
- Your intended route
- Camping area
- Vehicle description
- License plate
- Departure time
- Expected return time
- The time they should contact the authorities if you do not return.
Update them when you make a significant route change, and communication is available.
Step 11: Check Weather, Roads, and Closures
Review conditions when planning, the night before leaving, and again before entering the remote portion of the route.
Watch for:
- Heavy rain
- Flash-flood risk
- Snow
- Freezing temperatures
- Extreme heat
- High wind
- Thunderstorms
- Wildfire smoke
- Active fires
- Temporary road closures
A road that is easy when dry may become impassable after rain.
Do not enter a wash, low-water crossing, steep clay road, or snow-covered pass when conditions are uncertain.
Also, remember that land managers can close routes because of fire, flood damage, wildlife protection, maintenance, or resource damage. Your downloaded map may not reflect a closure issued that morning.
Step 12: Carry Recovery Equipment You Understand
Do not buy recovery equipment simply to complete the appearance of an overlanding vehicle.
Carry equipment suited to the route and vehicle, such as:
- Work gloves
- Tire-pressure gauge
- Portable air compressor
- Tire repair kit
- Shovel
- Traction boards
- Basic tools
- Jumper pack
- Rated recovery strap, where appropriate
- Compatible shackles
- Manufacturer-approved recovery points
A winch is not essential for an easy beginner route.
Avoiding the obstacle is almost always safer than attempting a recovery.
Never attach a recovery strap to a tow ball, suspension part, unverified bumper mount, or unknown point beneath the vehicle. Recovery forces can turn unsuitable components into dangerous projectiles.
Practice with your equipment in a safe setting with an experienced person before depending on it remotely.
Step 13: Prepare for Emergencies
Even a well-maintained vehicle can break down.
NHTSA recommends carrying a roadside kit with items such as a phone and charger, first-aid supplies, a flashlight, jumper cables, a tire-pressure gauge, a jack, basic tools, maps, drinking water, nonperishable food, medicines, and weather-appropriate blankets or clothing.
Your overlanding emergency kit may include:
- First-aid kit
- Prescription medication
- Extra drinking water
- Additional food
- Headlamps and spare batteries
- Emergency blanket
- Warm clothing
- Rain jacket
- Fire extinguisher
- Whistle
- Basic repair tools
- Power bank
- Paper map
- Satellite communicator
Do not let a reservation, work schedule, or desire to complete the route pressure you into continuing when conditions become unsafe.
Step 14: Check Fire Restrictions
A fire ring at an existing campsite does not prove that fires are currently permitted.
Fire restrictions can affect:
- Campfires
- Charcoal
- Gas stoves
- Smoking
- Generators
- Tools that create sparks
- Vehicle access to certain areas
BLM publishes active regional fire restrictions and temporary closures because permitted activities can change as wildfire conditions develop.
Always carry a stove and meals that do not depend on an open fire.
Where a fire is permitted:
- Use an approved existing fire area.
- Keep water immediately available.
- Maintain a small fire.
- Never leave it unattended.
- Extinguish it completely
- Confirm that the ashes are cold before leaving.
Step 15: Plan for Toilets and Waste
Dispersed campsites often have:
- No toilets
- No drinking water
- No trash service
- No established fire ring
- No staff nearby
Waste requirements vary by environment and land-management unit.
Some forests permit properly located catholes, while rocky, alpine, desert, river-corridor, and heavily used areas may require campers to pack out solid human waste.
For example, the White River National Forest has advised dispersed campers to use an approved pack-out system or self-contained toilet, with pack-out rules mandatory in certain locations.
Check local rules before leaving and carry the required equipment.
Never leave:
- Toilet paper
- Wipes
- Hygiene products
- Food scraps
- Trash
- Waste bags
Step 16: Minimize Your Impact
Responsible overlanding means using vehicle access without damaging the place you came to enjoy.
Stay on legal roads and park on durable surfaces such as established sites, gravel, or previously disturbed ground.
Leave No Trace recommends planning ahead, camping on durable surfaces, packing out waste, leaving natural and cultural objects in place, minimizing campfire impacts, respecting wildlife, and considering other visitors.
In practice:
- Do not drive around a mud hole onto vegetation.
- Do not create a new road.
- Do not widen an existing track.
- Use established campsites where available.
- Keep music and generator use considerate.
- Do not carve trees or move historic objects.
- Pack out all trash and food scraps.
- Do not leave equipment to reserve a campsite.
- Keep pets controlled
- Leave the campsite cleaner than you found it.
Good campsites are found, not created. Leave No Trace identifies established sites, rock, gravel, dry grass, and snow as examples of durable surfaces.
Beginner Overlanding Checklist
Vehicle
- Owner’s manual
- Spare tire
- Jack and wheel tools
- Tire-pressure gauge
- Tire repair kit
- Air compressor
- Jumper pack
- Basic tools
- Work gloves
- Shovel
- Suitable recovery equipment
Navigation and communication
- Official land-management maps
- MVUM where applicable
- Offline navigation
- Paper backup map
- Compass
- Phone charger
- Power bank
- Satellite communicator for remote routes
Camping
- Tent or vehicle sleep system
- Sleeping bag
- Sleeping pad or mattress
- Pillow
- Headlamp
- Lantern
- Camp chair
- Weather protection
- Repair kit
Kitchen and water
- Drinking water
- Backup water container
- Stove and fuel
- Lighter
- Cookware
- Cooler
- Food-storage containers
- Trash bags
- Cleaning supplies
- No-cook emergency meal
Safety and hygiene
- First-aid kit
- Medication
- Sunscreen
- Insect repellent
- Warm layers
- Rain jacket
- Emergency blanket
- Fire extinguisher
- Toilet or approved waste system
- Hygiene supplies
A Simple Two-Night Beginner Itinerary
Day 1: Reach camp early
- Refuel in the final town.
- Enter the route during daylight.
- Confirm current road conditions.
- Reach camp two hours before sunset.
- Set up shelter
- Prepare a simple meal.
- Review the next day’s route.
- Record your water and power use.
Day 2: Complete a short exploration loop
- Inspect the vehicle
- Check the forecast
- Take only the equipment needed.
- Avoid escalating to difficult terrain.
- Return before sunset
- Organize equipment for departure.
Day 3: Pack and review
- Pack out all waste
- Inspect the campsite
- Check the tires and the underside of the vehicle.
- Leave using the planned route.
- Refuel
- Note what you used, missed, or overpacked.
How Much Does Beginner Overlanding Cost?
Overlanding does not have to begin with vehicle modifications.
Start with what you already own.
Use:
- Your existing vehicle
- A ground tent
- Sleeping bags
- A cooler
- A portable stove
- Water containers
- Headlamps
- A basic emergency kit
Upgrade after gaining experience
Useful early upgrades may include:
- Better sleeping pad
- Air compressor
- Tire repair kit
- Organized storage
- Portable battery
- Satellite communicator
- Traction boards
Delay expensive equipment
Wait before buying:
- Rooftop tent
- Drawer system
- Large power station
- Winch
- Suspension lift
- Oversized tires
- Steel bumpers
- Multiple fuel containers
- Elaborate camp kitchen
Maintenance, safe tires, water storage, navigation, sleep quality, and emergency preparation should take precedence over cosmetic modifications.
Buy equipment to solve problems you have actually experienced.
Common Overlanding Mistakes
Selecting a route that is too difficult
Remote does not have to mean technical.
Arriving after dark
Road hazards, boundaries, campsites, branches, and signs are much harder to identify at night.
Trusting one app
An app may display a road without confirming whether driving or camping there is legal.
Overloading the vehicle
Too much equipment can affect handling, payload, organization, and fuel range.
Skipping maintenance
A damaged tire, weak battery, or missing jack is much easier to address at home.
Depending on a campfire
Fire restrictions can change suddenly and make cooking with wood or charcoal illegal.
Using gear for the first time at camp
Test your tent, stove, lights, maps, and recovery tools beforehand.
Continuing because turning around feels disappointing
A safe decision remains the correct decision even when it changes your itinerary.
Frequently Asked Questions
What is overlanding?
Overlanding is vehicle-based adventure travel focused on the journey, outdoor landscapes, self-sufficient camping, and extended exploration rather than reaching one destination as quickly as possible.
Is overlanding the same as off-roading?
No. Off-roading focuses on driving in difficult terrain. Overlanding focuses on travel and camping. An overlanding route may include off-road sections, but technical driving is not required.
Do beginners need a four-wheel-drive vehicle?
Not always. Many beginner routes use paved roads, maintained gravel roads, and easy forest roads suitable for two-wheel-drive or all-wheel-drive vehicles. Choose the route according to your vehicle’s clearance, tires, and traction.
Can you go overlanding in a car?
Yes. A passenger car can be used for overlanding when the itinerary stays on paved roads, maintained gravel roads, and legally accessible campsites suited to low-clearance vehicles.
What is the best beginner overlanding vehicle?
The best starting vehicle is usually a reliable vehicle you already understand. Maintenance, tires, payload, fuel range, route selection, and driver judgment matter more than appearance.
Where can beginners go overlanding in the United States?
BLM land and national forests provide many possibilities, but access, camping rules, permits, fire restrictions, and route designations vary. National parks usually impose tighter controls. Always consult the managing agency’s current maps and alerts.
Is dispersed camping free?
Many dispersed campsites do not charge a nightly fee, but permits, passes, designated-site fees, and special-area charges can still apply. Verify the rules for the exact location.
How long can you camp on BLM land?
BLM generally limits dispersed camping to 14 days within a 28-day period, but field offices can apply different limits and relocation rules. Check the relevant office before traveling.
What overlanding gear should a beginner buy first?
Prioritize vehicle maintenance, tires, safe shelter, sleep equipment, water storage, navigation, lighting, first aid, weather protection, and basic tire tools.
Do I need a rooftop tent?
No. A ground tent or vehicle sleeping platform is usually less expensive and easier for beginners to use. Consider a rooftop tent only after confirming it suits your vehicle, budget, travel style, and roof load limits.
Final Thoughts
A successful first overlanding trip does not need to involve crossing a desert or conquering a difficult trail.
Success means:
- The route was legal
- Your vehicle returned without damage.
- You had enough food and water.
- Your camp was safe and comfortable.
- You adapted to the conditions.
- You left no waste behind.
- You learned what to improve.
Begin with a short route, familiar equipment, and enough time to turn around.
Overlanding becomes more rewarding as your judgment, navigation, vehicle knowledge, and camping skills develop. The objective is not to prove how far a vehicle can travel.
It is to explore outdoor landscapes responsibly and return home safely.